- Basics
- Sorting
- Buttons
- Attributes
- Click Actions
- Sticky Header
- Column Display
- Sticky columns
- Pagination
- Async Mode
- Lazy mode
- Modifiers
Basics
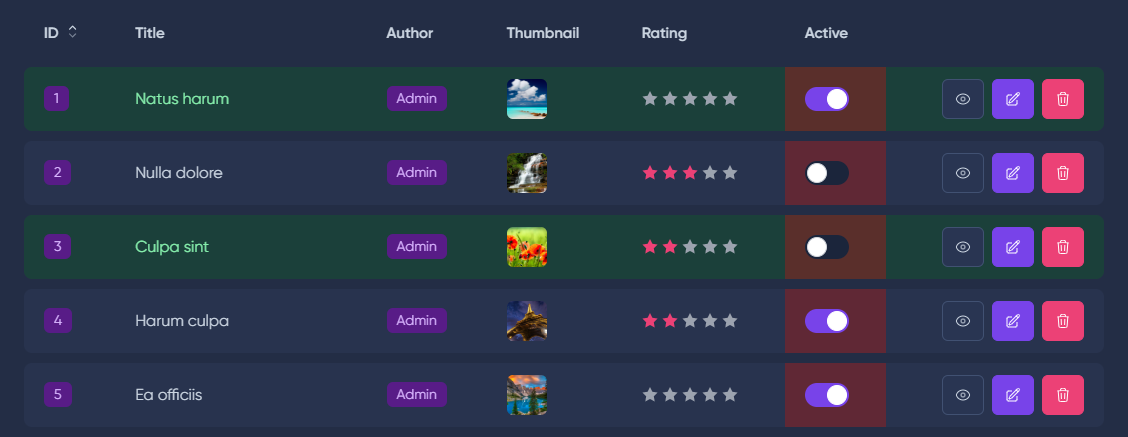
In CrudResource (ModelResource) on the indexPage as well as on the DetailPage, TableBuilder is used to display the main data,
so we recommend you also study the documentation section TableBuilder.
Sorting
Buttons
To add buttons to the table, you can use ActionButton and the methods indexButtons(), as well as detailButtons() for the detail page.
After the main buttons:
Before the main buttons:
Remove the delete button:
Standard button names for the index view rows:
- resource-detail-button,
- resource-edit-button,
- resource-delete-button,
- mass-delete-button.
You can also globally disable any actions with the resource (see active actions.
Clear the button set and add your own:
The same approach is used for the table on the detail page, only through the method detailButtons().
For bulk actions, you need to add the bulk() method.
By default, all buttons in the table are displayed in a line, but you can change the behavior and display them through a drop-down list.
To do this, change the $indexButtonsInDropdown property in the resource:
Attributes
To add attributes for the td element of the table, you can use the customWrapperAttributes() method on the field that represents the cell you need.
You can also customize tr and td for the table with data through the resource.
To do this, you need to use the corresponding methods trAttributes() and tdAttributes(),
to which you need to pass a closure that returns an array of attributes for the table component.


Click Actions
By default, clicking on tr does nothing, but you can change the behavior to navigate to editing, selection, or to the detailed view.
Sticky Header
The model resource property stickyTable allows you to fix the header when scrolling a table with a large number of elements.
Column Display
You can allow users to independently determine which columns to display in the table while retaining their selection.
To do this, you need to set the parameter $columnSelection for the resource.
If you need to exclude fields from the selection, use the columnSelection() method.
If you need to hide the default field:
Sticky columns
You can freeze cells in large tables, suitable for ID columns and buttons.
To fix buttons in the table, switch the resource to stickyButtons mode.
To fix a column, call the sticky() method on the Field.
Pagination
To change the number of items per page, use the property $itemsPerPage.
Cursor
When dealing with a large volume of data, the best solution is to use cursor pagination.
Simple
If you do not plan to display the total number of pages, use Simple Pagination.
This avoids additional queries for the total number of records in the database.


Disable Pagination
If you do not plan to use pagination, it can be disabled.
Async Mode
In the resource, async mode is used by default.
This mode allows for pagination, filtering, and sorting without page reloads.
However, if you want to disable async mode, you can use the property $isAsync.
namespace App\MoonShine\Resources;use MoonShine\Laravel\Resources\ModelResource;class PostResource extends ModelResource{protected bool $isAsync = false;// ...}
namespace App\MoonShine\Resources;use MoonShine\Laravel\Resources\ModelResource;class PostResource extends ModelResource{protected bool $isAsync = false;// ...}
Updating a row
You can asynchronously update a row in the table by triggering the event:
{{componentName}}- the name of the component;{{row-id}}- the key of the row item.
To add an event, you can use the helper class:
{row-id}- shortcode for the id of the current model record.
Also, an example of a response with an event.
The withUpdateRow() method is also available, which helps simplify the assignment of events.
Lazy mode
If you want to display a page without waiting for data to load, and then send a query to get the table data, use Lazy mode.
Modifiers
Components
You can completely replace or modify the resource's TableBuilder for both the index and detail pages.
Use the modifyListComponent() or modifyDetailComponent() methods for this.
use MoonShine\Contracts\UI\ComponentContract;public function modifyListComponent(ComponentContract $component): ComponentContract{return parent::modifyListComponent($component)->customAttributes(['data-my-attr' => 'value']);}
use MoonShine\Contracts\UI\ComponentContract;public function modifyListComponent(ComponentContract $component): ComponentContract{return parent::modifyListComponent($component)->customAttributes(['data-my-attr' => 'value']);}
use MoonShine\Contracts\UI\ComponentContract;public function modifyDetailComponent(ComponentContract $component): ComponentContract{return parent::modifyDetailComponent($component)->customAttributes(['data-my-attr' => 'value']);}
use MoonShine\Contracts\UI\ComponentContract;public function modifyDetailComponent(ComponentContract $component): ComponentContract{return parent::modifyDetailComponent($component)->customAttributes(['data-my-attr' => 'value']);}
Elements thead, tbody, tfoot
If it is not enough to just automatically output fields in thead, tbody, and tfoot,
you can override or extend this logic based on the resource methods thead(), tbody(), tfoot().
Example of adding a row in tfoot
You can use a list component outside a resource, but you must understand what it is.
app(MoonShineUserResource::class)->getIndexPage()->getListComponent(withoutFragment: false)